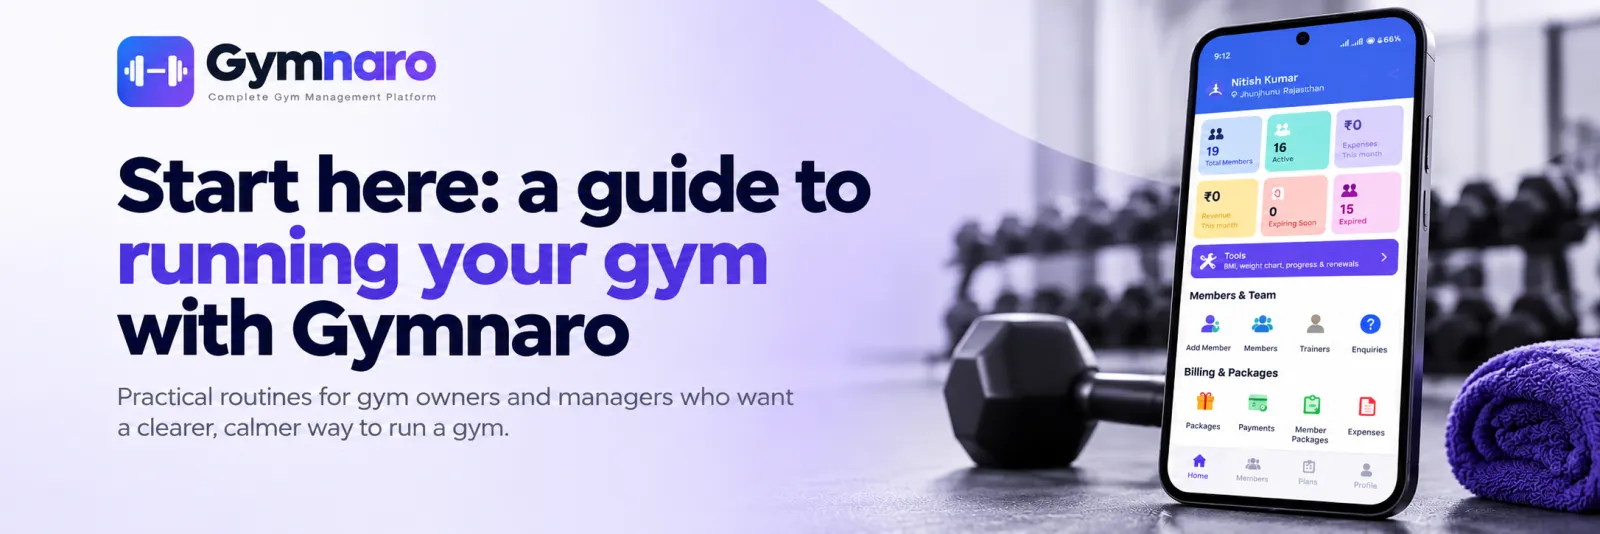
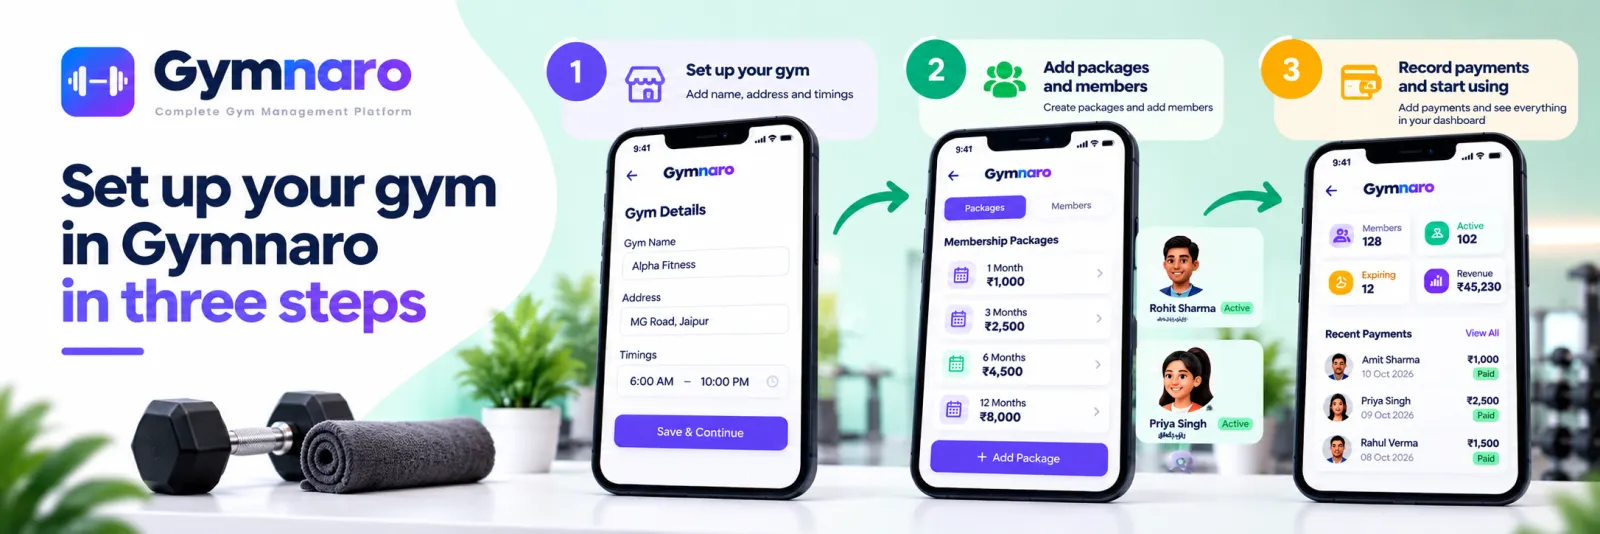
Setting up a gym in Gymnaro takes three steps and most owners finish the first pass in an afternoon. This is the whole path in order, with what to do after it.
Step 1: Sign in with your mobile number
Download the app on Android or iPhone, or open the web version, and sign in with your mobile number. This creates your owner account. Then add your gym's name, address and timings so the account matches the gym you run.
Step 2: Add packages and members
Create your packages first
Packages are the products you sell: a duration and a price. Create the ones you actually offer, for example monthly, quarterly and yearly. If you need help choosing, read how to set up gym membership packages.
Then add members
Add each active member with their name and phone number, and the details you want on file such as photo, address, date of birth and joining date. Start with the members who are active today. You can add the rest later.
Assign a package with dates
For every member, assign a package with a start date and an end date. The end date is what lets the dashboard show you who is about to expire.
Step 3: Record payments and attendance
When a member pays, record the payment with the amount, date, payment mode, discount and status, and open the receipt. From then on, mark attendance as present, absent or late. Your dashboard shows total members, active members, this month's revenue and memberships expiring soon.
What to set up next
- Measurements and photos: record a baseline for new members. See body measurements and progress tracking.
- Workout and diet plans: build a few plans and assign them with dates.
- Trainers: add your trainers and assign each member to one.
- Enquiries: start saving walk-ins with a follow-up date.
- A second gym: add it to the same account and switch between them.
A first-week routine
- Each morning, open the dashboard and look at memberships expiring soon.
- Record every payment as it is taken.
- Mark attendance at the same time each day.
- At the end of the week, check pending payments.
A realistic first day
- First 30 minutes: sign in, add the gym's details and create your packages.
- Next hour: add your active members with names, phone numbers and the details you have.
- Next hour: assign each member a package with the real start and end dates.
- Last 30 minutes: record today's payments and open one receipt to see how it looks.
If you have a lot of members, split the second and third tasks across two days. A partly loaded gym with correct dates is more useful than a fully loaded one with guesses.
How to know setup is done
- Every package you sell exists, with the right duration and price.
- Every active member has a package with start and end dates.
- The dashboard shows memberships expiring soon, and the list looks right.
- Everyone who takes payments knows to record them as they happen.
Questions new owners ask
Can I add members later?
Yes. Start with the active ones, and add others when they return or join.
Do my members need the app?
No. You can run the gym from your own account. Members can sign in with the mobile number you registered when you want them to see their own details.
Can I add a second gym?
Yes. One owner account can run several gyms, and you switch between them in the app.
Common mistakes
- Adding members without packages. Without dates, the dashboard cannot help.
- Loading everyone, including lapsed members. Start with active ones.
- Keeping two records. Once you start in the app, stop writing in the old register.
Ready to begin? Download the app or see the free plan.
← All posts · Guides · Pricing